Posts tagged Jewelry
Eclectic Eccentricity Giveaway WINNER
1Hello everyone!
Firstly, I’d like to apologise for not announcing the winner of my Eclectic Eccentricity giveaway sooner. The giveaway closed last Friday, but I’ve had such a hectic week it just slipped my mind! However, the time has finally come for me to announce the lucky winner of a You’re On My Wavelength Einstein Necklace, so without further ado, the winner is entry number 25, which belongs to…
Chrissie Lea
Congratulations Chrissie! Please email your postal address to , and I will post your prize out to you as soon as possible.
As usual, thank you so much to everyone who entered, and thank you to Eclectic Eccentricity for providing the prize.
Check back soon for another giveaway!
Naomi x
Four Beautiful Keys Moon Necklace
8Four Beautiful Keys is a Suffolk-based online jewellery boutique, specialising in unique and handcrafted pieces, created using traditional silver smithing techniques. I have always been a fan of silver, rather than gold, jewellery, and it was the company’s creative use of silver that first drew me to them when I spotted them on Twitter. So, when Four Beautiful Keys offered to send me an item to review I was thrilled, and happily accepted.
I didn’t get to choose my piece, but after browsing the website I was secretly hoping for one in particular, and to my surprise it was the one I received – how lucky am I?! Ever since childhood I have been fascinated by the moon, and this dainty moon necklace is just so perfect for me. The pendant itself is made from hammered 925 silver, and is just under 2cm high.
I’m a very tactile person, and I find the shape and texture of the pendant really pleasing, and I often find myself absent-mindedly fiddling with it. That may sound odd, but to me it’s a good thing as it makes it feel that little bit more special.
The moon came on an 18 inch chain, which is the ideal length for me and sits right above the neckline of most of my clothing, but Four Beautiful Keys give you the option of a variety of chain lengths, from 16 inches to 20 inches, at no extra cost.
At £24.00 for a bespoke piece of jewellery, this necklace is incredibly affordable, and it even comes packaged in a cute little gift box, so would make a gorgeous gift for someone special. It’s such a versatile piece too, and I’ve worn it with pretty dresses, but also baggy jumpers and jeans, and it always looks great.
Four Beautiful Keys also sell a wide variety of other items, including personalised disc necklaces, jewellery gifts for mum and bridesmaids, bracelets, earrings, rings, silver charms, and an array of other silver necklaces. To browse the full range, you can visit the Four Beautiful Keys website here, and you can also find them on Twitter and Facebook.
Naomi x
*This Moon Necklace was sent to me by Four Beautiful Keys for review purposes. All opinions expressed are honest and my own.*
DIY Simple Cord Bead Bracelets
5I was recently browsing the summer sales and noticed that there were a lot of fine cord beaded bracelets around. I thought they were very cute and subtle, but I couldn’t justify spending money on what was essentially just a piece of string and a single bead. So, being the thrifty girl that I am, I decided to make my own! Under my bed I have a big box of craft stuff, so today I dug out some cord and a few beads and got making. As I went along, I took some photos so I could put together this little tutorial for you all  Each one only takes a few minutes to make so you really don’t need to set aside much time to try this out.
All you will need to make your simple cord bead bracelet is:
Leather Cord
Scissors
A Pretty Bead
And this is how you do it!

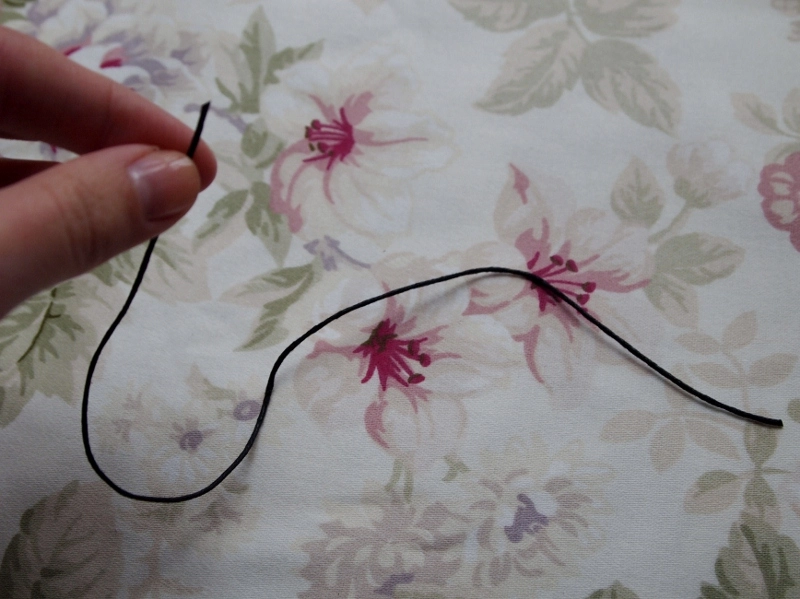
1. Cut a length of cord which is a few inches longer than the circumference of your wrist. It needs to be quite long so you can tie knots later on! Any excess can be snipped off if needs be, so try not to make it too short.
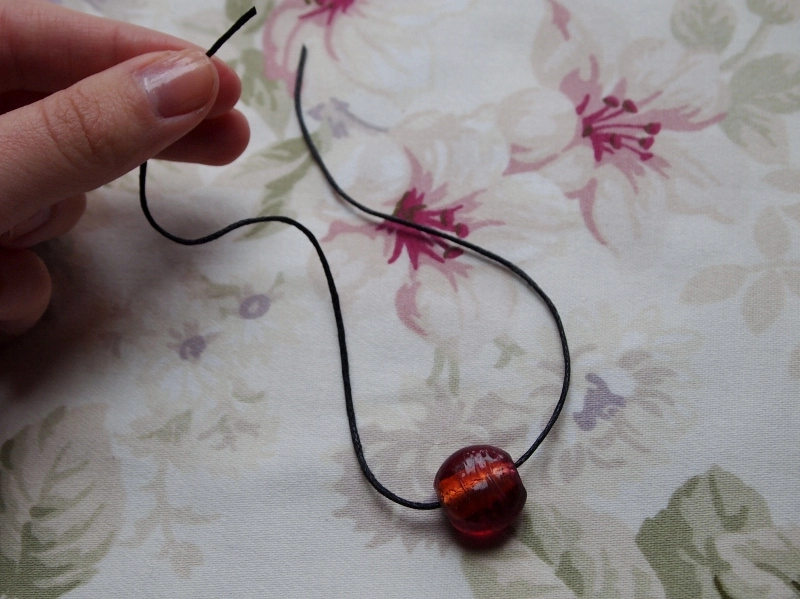
2. Thread your bead onto the cord, making sure that it’s in the centre.
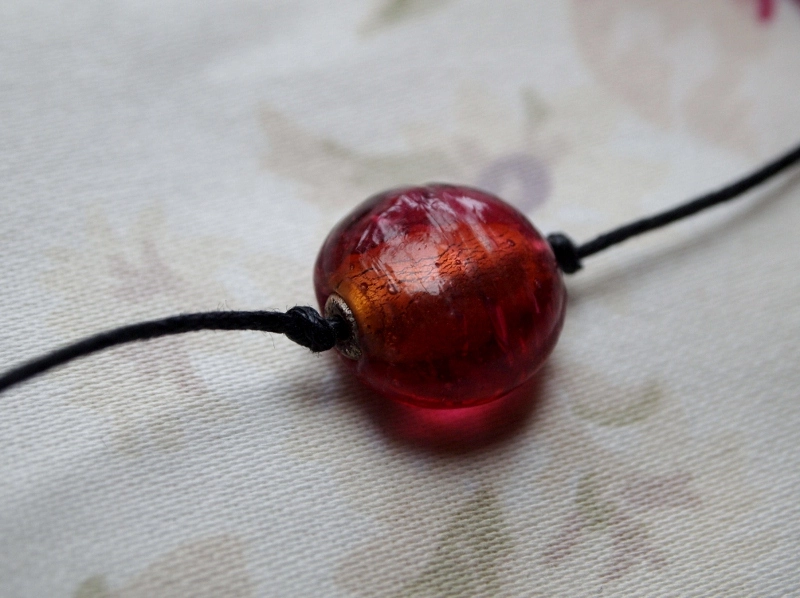
3. Tie a tight knot either side of the bead to keep it in place.
4. This is probably the most fiddly bit… Tie one side of the cord around the other side of the cord to create a sliding knot. It’s difficult to explain how to tie a sliding knot so if you don’t know how to do it, there’s a simple guide here.
5. Do the same on the other side. The sliding knots will make it easy to make the bracelet tighter or looser.
And that’s it – once you’ve trimmed it down you’re finished! I made several bracelets using different glass coloured beads so I can wear them stacked together. And here they are…
What do you think? I hope you like them! I’d love to see a photo if you decide to try this out.
Happy crafting 
Naomi x


