Posts tagged Bracelets
DIY Simple Cord Bead Bracelets
5I was recently browsing the summer sales and noticed that there were a lot of fine cord beaded bracelets around. I thought they were very cute and subtle, but I couldn’t justify spending money on what was essentially just a piece of string and a single bead. So, being the thrifty girl that I am, I decided to make my own! Under my bed I have a big box of craft stuff, so today I dug out some cord and a few beads and got making. As I went along, I took some photos so I could put together this little tutorial for you all  Each one only takes a few minutes to make so you really don’t need to set aside much time to try this out.
All you will need to make your simple cord bead bracelet is:
Leather Cord
Scissors
A Pretty Bead
And this is how you do it!

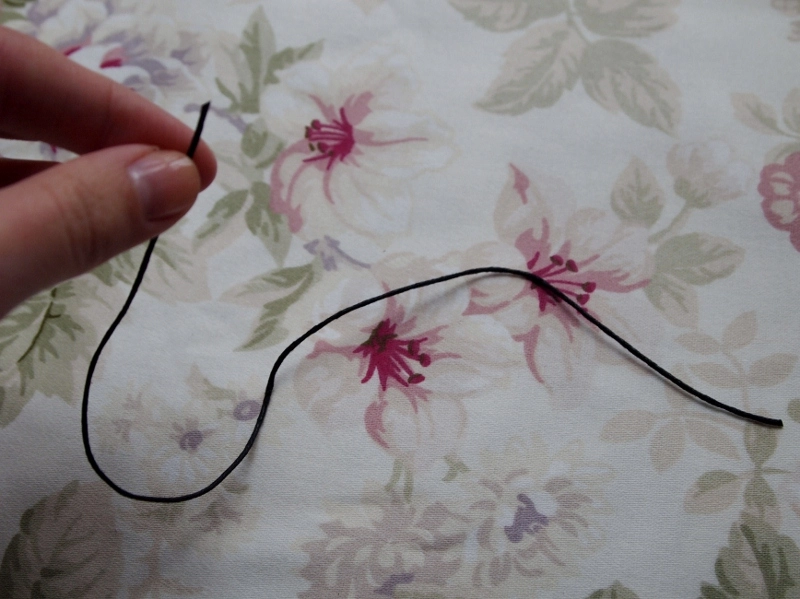
1. Cut a length of cord which is a few inches longer than the circumference of your wrist. It needs to be quite long so you can tie knots later on! Any excess can be snipped off if needs be, so try not to make it too short.
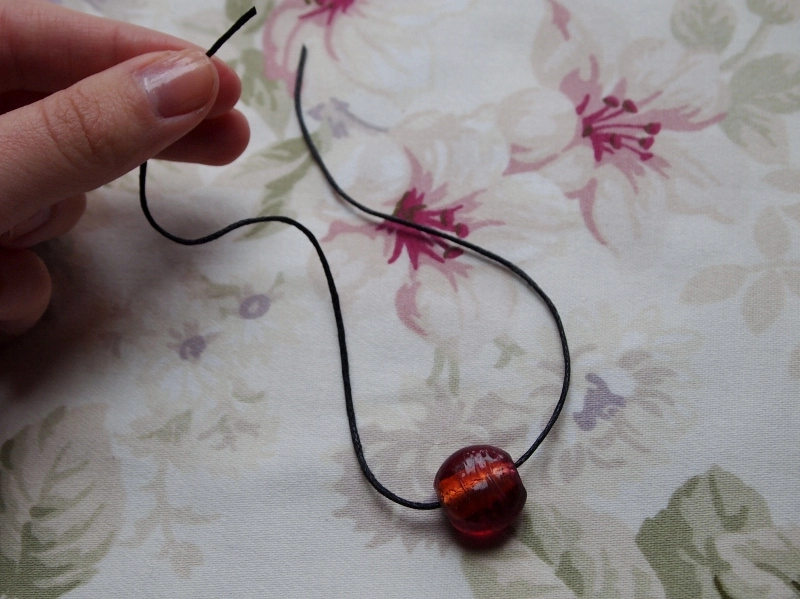
2. Thread your bead onto the cord, making sure that it’s in the centre.
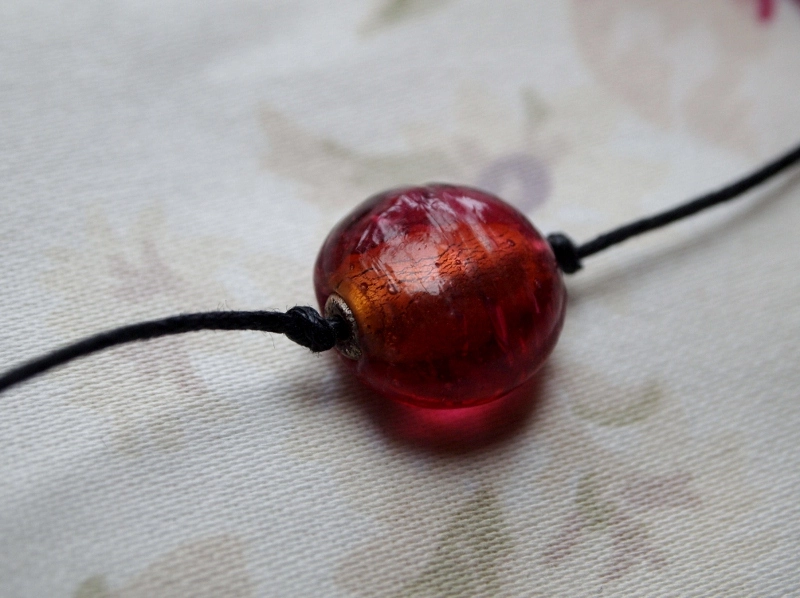
3. Tie a tight knot either side of the bead to keep it in place.
4. This is probably the most fiddly bit… Tie one side of the cord around the other side of the cord to create a sliding knot. It’s difficult to explain how to tie a sliding knot so if you don’t know how to do it, there’s a simple guide here.
5. Do the same on the other side. The sliding knots will make it easy to make the bracelet tighter or looser.
And that’s it – once you’ve trimmed it down you’re finished! I made several bracelets using different glass coloured beads so I can wear them stacked together. And here they are…
What do you think? I hope you like them! I’d love to see a photo if you decide to try this out.
Happy crafting 
Naomi x


