Posts tagged Cord
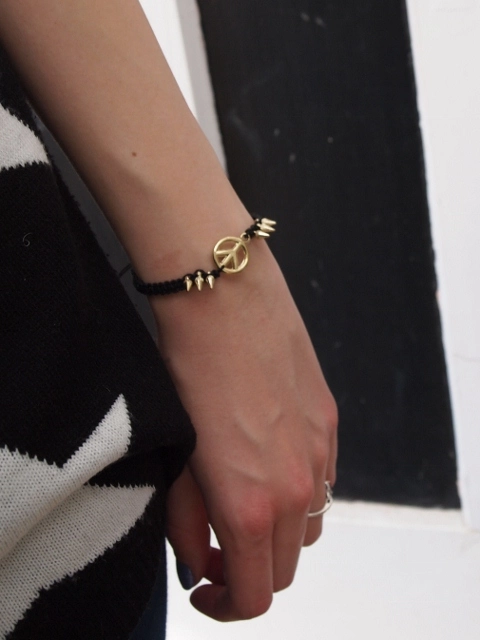
Celliana Spike and Peace Bracelet
7I was recently given the opportunity by Sarah at Celliana to choose a gorgeous piece of jewellery from their new Regal Treasure collection. Celliana are a UK-based, online jewellery design company who put a lot of thought and care into creating exclusive yet affordable pieces. Their jewellery combines contemporary high fashion and traditional crafting techniques to bring you exciting designs which fit but also transcend current fashion trends, and every single item is designed by the company’s own small team of talented designers.
I actually found it quite difficult to pick just one piece when browsing the Regal Treasue collection as there are so many stunning pieces, but in the end I settled for a simple yet versatile bracelet – their Spike and Peace Bracelet, which costs just £4.00.
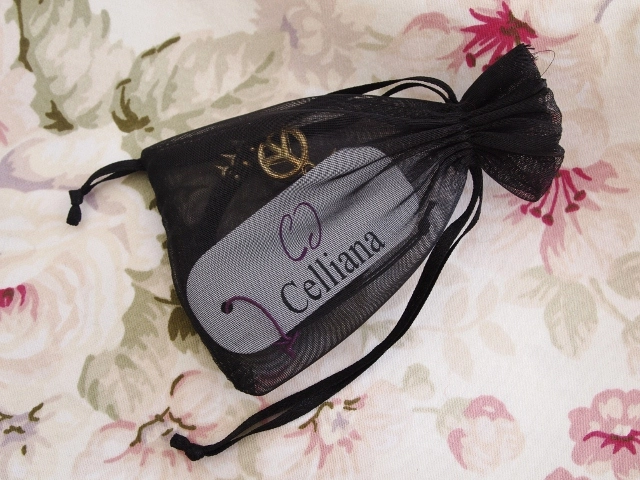
When I first received the bracelet I was really impressed with the way it was presented. It came in a little black drawstring pouch with a label attached, which in turn was in a Celliana branded bag-like ‘envelope’ – a lot more luxurious and far more personal than just being thrown into a jiffy bag!
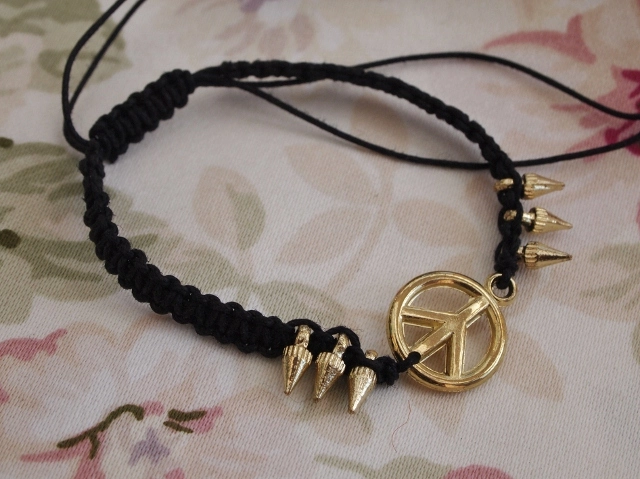
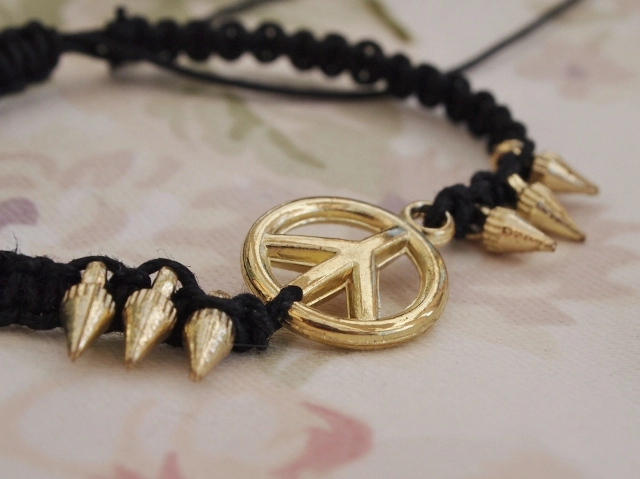
The Spike and Peace Bracelet is very well made. The black cord which forms the bracelet is very tightly braided which makes it extremely strong, so there’s no worry that the bracelet will snap, and it has an adjustable cord fastening so it will fit any wrist comfortably without the chance that it will slip off or feel too tight.
The gold, metal-look peace sign and spike beads are woven securely into place, and have a decent weight and shine to them which gives them a look of real metal! I’ve found that, with some badly made bracelets, any protruding beads have the tendency to slip around and point in different directions, which can get quite annoying. However, the spike beads in this design stay pointing in the direction they’re supposed to, which is a sign of a good quality product in my eyes!
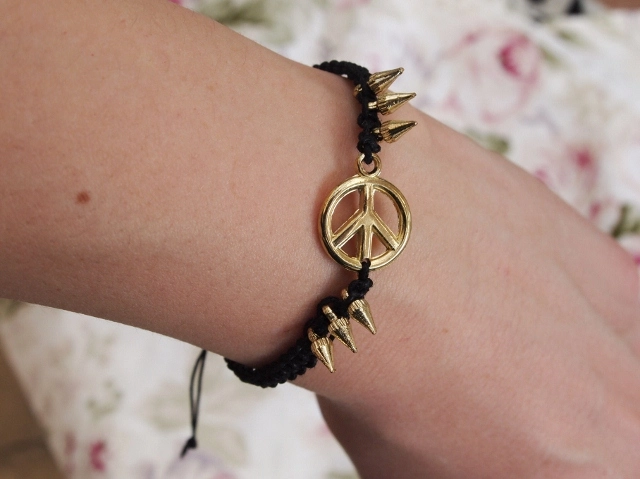
Celliana’s Spike and Peace bracelet sits really nicely on the wrist and is perfect for this season’s trend for stackable bracelets, and luckily at £4.00 it is cheap enough to invest in a few pieces from their website for a more dramatic look! It also fits the Autumn/Winter trend for all things Gothic, what with the spikes and black and gold contrast, which looks beautifully classy.
Celliana will be launching four Autumn/Winter 2012 collections over the next few months, with Regal Treasure being the first. They have also recently released their rather feminine Elegant Rose collection, but there are still two more amazing collections to come so keep an eye out!
Naomi x
DIY Simple Cord Bead Bracelets
5I was recently browsing the summer sales and noticed that there were a lot of fine cord beaded bracelets around. I thought they were very cute and subtle, but I couldn’t justify spending money on what was essentially just a piece of string and a single bead. So, being the thrifty girl that I am, I decided to make my own! Under my bed I have a big box of craft stuff, so today I dug out some cord and a few beads and got making. As I went along, I took some photos so I could put together this little tutorial for you all  Each one only takes a few minutes to make so you really don’t need to set aside much time to try this out.
All you will need to make your simple cord bead bracelet is:
Leather Cord
Scissors
A Pretty Bead
And this is how you do it!
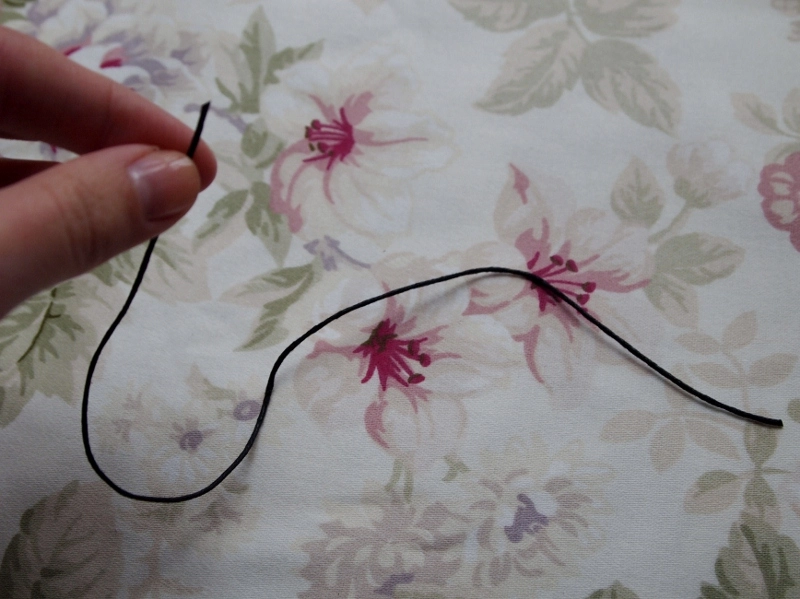
1. Cut a length of cord which is a few inches longer than the circumference of your wrist. It needs to be quite long so you can tie knots later on! Any excess can be snipped off if needs be, so try not to make it too short.
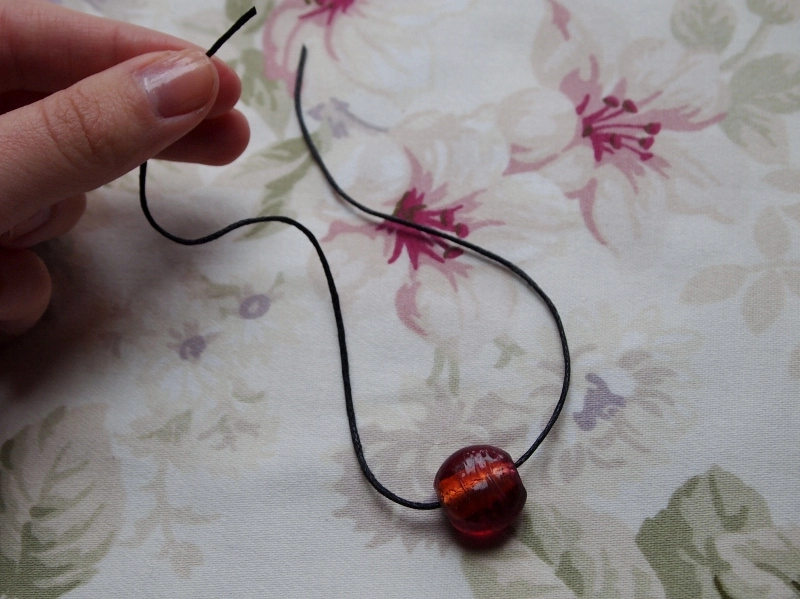
2. Thread your bead onto the cord, making sure that it’s in the centre.
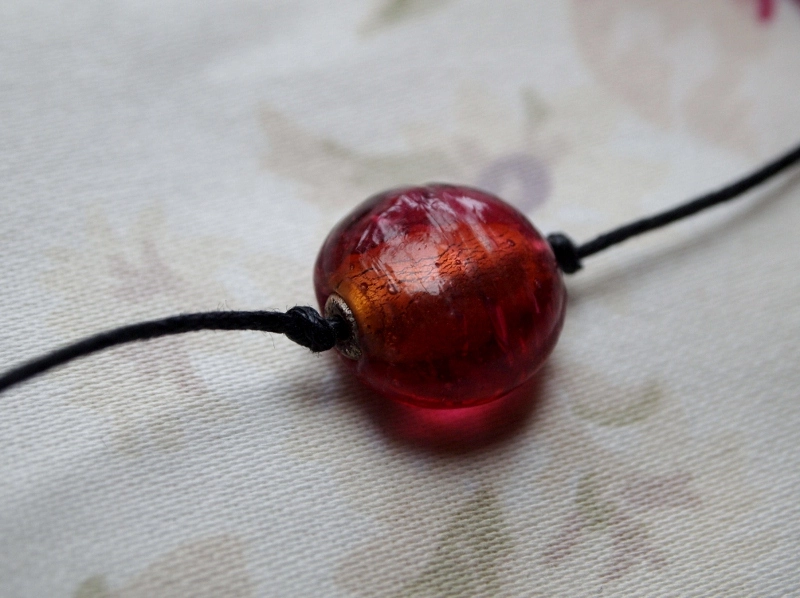
3. Tie a tight knot either side of the bead to keep it in place.
4. This is probably the most fiddly bit… Tie one side of the cord around the other side of the cord to create a sliding knot. It’s difficult to explain how to tie a sliding knot so if you don’t know how to do it, there’s a simple guide here.
5. Do the same on the other side. The sliding knots will make it easy to make the bracelet tighter or looser.
And that’s it – once you’ve trimmed it down you’re finished! I made several bracelets using different glass coloured beads so I can wear them stacked together. And here they are…
What do you think? I hope you like them! I’d love to see a photo if you decide to try this out.
Happy crafting 
Naomi x
