Posts tagged Rainbow
My Week on Instagram #1
2As you may know, last week I joined Instagram, and so far I’ve really been enjoying photographing my daily happenings and looking at everybody else’s pictures. So, to bring my blog and my Instagram together a little bit more, from now on I will be blogging a round-up each week of my favourite photos. I haven’t yet taken that many so it’s slim pickings this week, but without further ado, here is my first installment! The image is clickable for a closer look.
Our Halloween pumpkin, carved by me / Mog the Rat having snuggles in my dressing gown / My dad’s baby bearded dragon, Russell, who in the last week has turned a lot more yellow! / Fireworks from the Abbey Park firework display on Saturday / My Butler & Wilson skull necklace / Sunday lunch at The Hunting Lodge – Stilton, Mushroom and Broccoli pasta bake with chips and veggies / AMAZING Rich Chocolate and Peanut Stack / Sunday rainbow / Miggley the Rat sitting in my slipper boot
If you’d like to follow me on Instagram and see more of my photos, my username is bewitchery_. Please comment on this post with your usernames too as I’m looking for more accounts to follow!
Naomi x
Leicester Pride
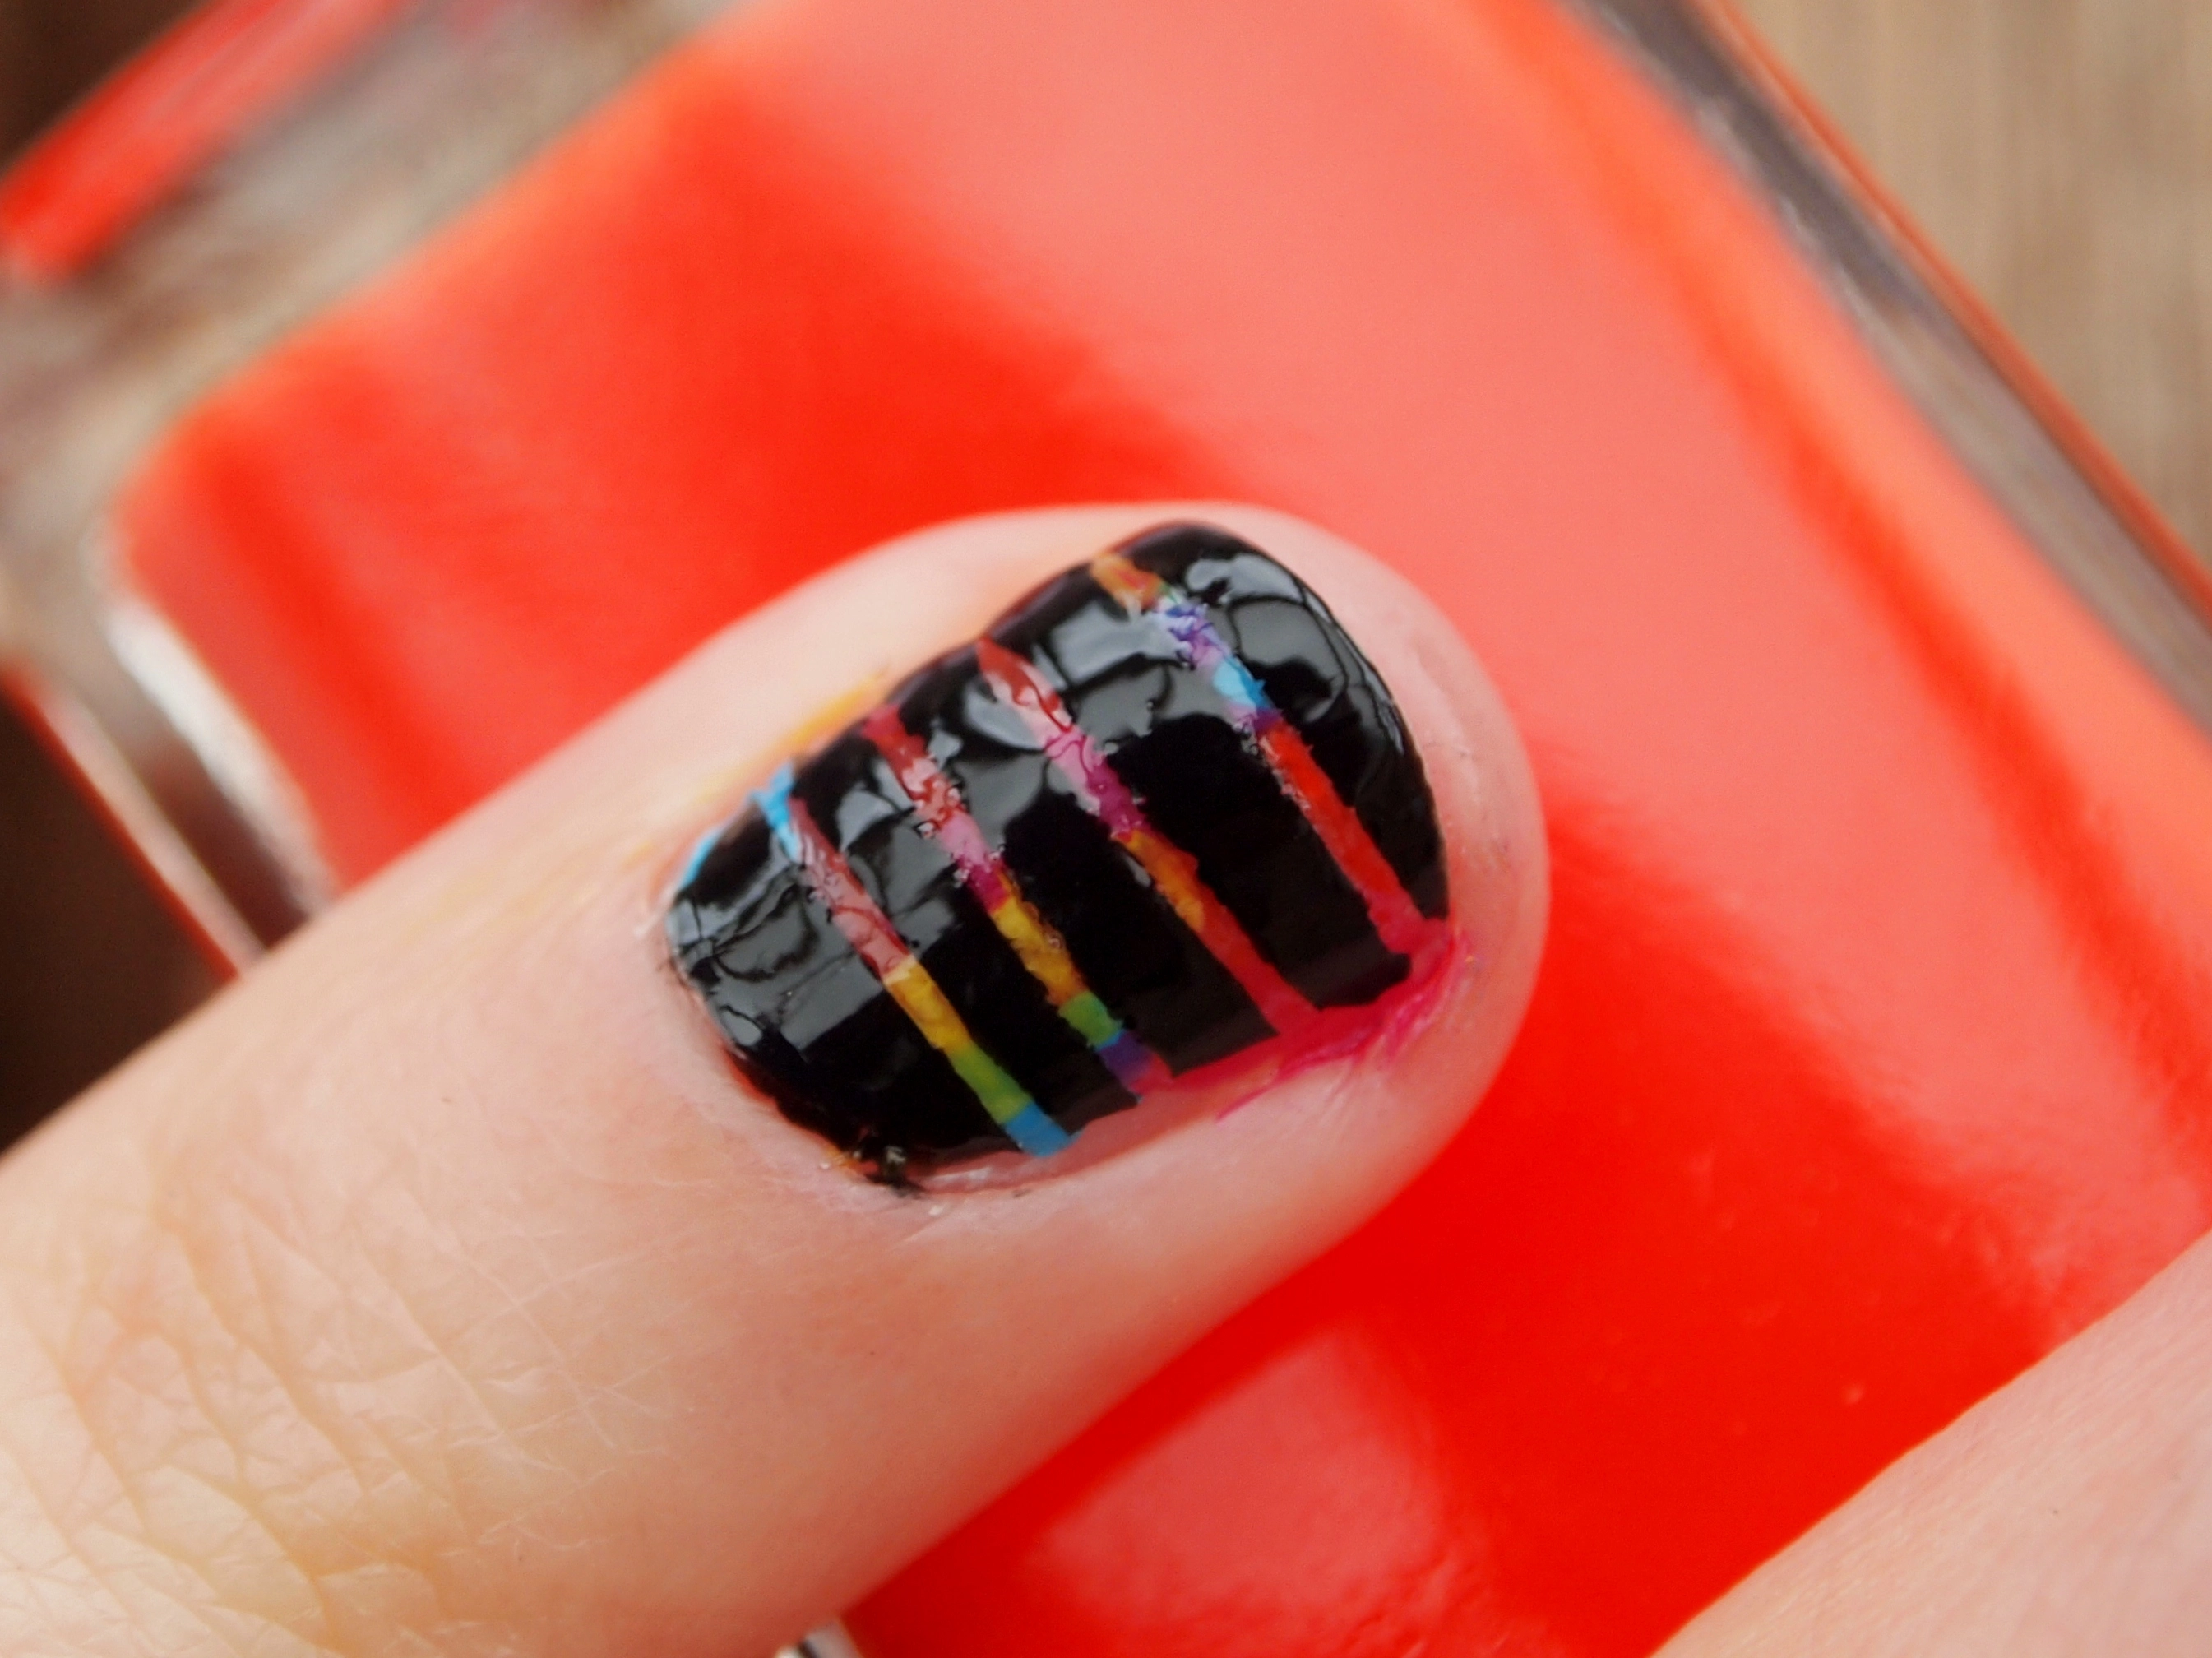
2At the weekend my fiancé and I decided to go into town to watch the Leicester Pride parade, before heading to the local park where the parade ended, to join in with the Pride celebrations. Neither my fiancé or I are LGBT, but we both strongly advocate the equality and diversity that Pride encourages, and we wanted to show our support for the LGBT community. The whole event had a really peaceful, friendly atmosphere, and it was nice to spend some time in a relaxed, happy space which is inclusive of everybody. There was music, dancing, entertainment, food and lots of fun, and I’ll definitely be going again next year. Here are a few photographs I took of the parade as it passed through town, and one of my aptly decorated rainbow nails!
Will you be attending your local Pride event this year?
Naomi x
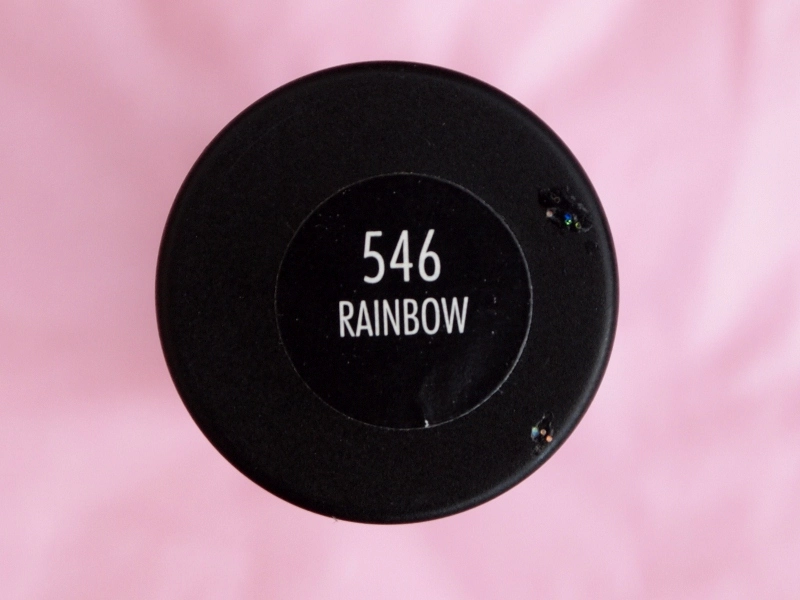
NOTD: GOSH 546 Rainbow
8Over the last couple of months I have been noticing the growing trend for ‘Flakie’ nail varnish. All the Flakie swatches I’ve seen have all looked beautiful, and I recently spent a good while online and in shops looking for my very own Flakie, but I could not find any anywhere! I had just about given up on my search when out of the blue I spotted this GOSH 546 Rainbow nail varnish in a blog sale, used once, for just £2! As you can imagine, I snapped it up (along with a £5 MAC Eyeshadow, which I’ll review at a later date) and it arrived in the post this morning.
The first thing I did when I received this was Google it… I wanted to know whether GOSH still make/sell Rainbow, and from what I can see they don’t! In fact, I could only find a few of these online, and every one of them said it was rare. I found one site selling a bottle this size for £42, and one on eBay which is currently at $12, but that’s it. Needless to say I got a very good bargain at £2.
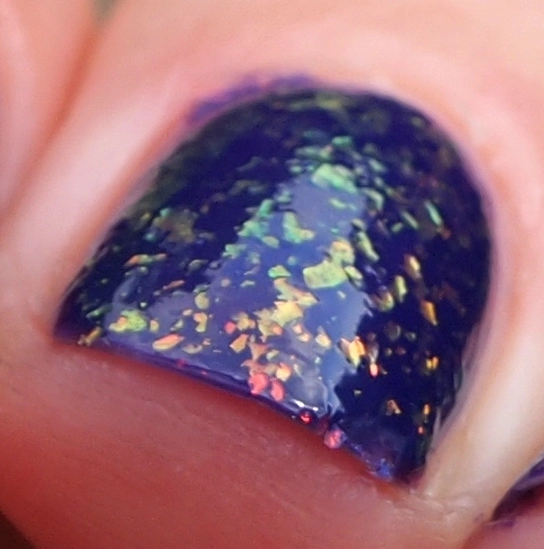
My research taught me that Flakies work best over dark nail varnish. Since it is a clear varnish with the flakes suspended in it, I painted one coat of GOSH Rainbow as a top coat over two coats of No7 Violetta. The varnish is a great consistency and packed full of flakes so you get a fairly even spread. I’m also really impressed with the quality of the brush, and though the varnish takes a little longer to dry than most top coats, it is well worth the wait. Now the moment you’ve all been waiting for – the final result…
Just look how pretty it is! I really can’t get over how absolutely stunning I find the Flakie look. In both natural and unnatural light, the flakes shine bright in firey oranges and reds, and at some angles (as you can see below) the flakes turn gold and green. I can’t stop staring at my nails. I think the effect looks a bit like dichroic glass or peacock ore.
Though it may not be for everyone (my mum isn’t impressed with this look at all), I am completely in love with GOSH Rainbow and the Flakie look in general, and it’s made all the better because I got a bargain! It looks like gold dust, and it’s as hard to find as gold dust, so I’ll be using this sparingly and saving it for best so it doesn’t run out!
What do you think – do you like the Flakie look or not?
Naomi x
My New Make Up Storage Drawers
11
Since I became an Avon Representative in 2010 and started beauty blogging, I have acquired a LOT of make up. I was quickly running out of space to store it all and ended up with make up scattered all around the house in various places. I had been wanting something nice to store my make up in for a while, and today, whilst out shopping, I spotted this set of small polka dot paper drawers for just £2.99! I fell in love with them instantly and couldn’t wait to get them home and fill them with my things.
Admittedly, they’re not the biggest, but the drawers are surprisingly deep and since most make up products are small and flat, they stack quite nicely and neatly inside. I”ve managed to fit quite a lot of my make up in and there’s even room for more when I have time to sort it all out. The top drawer is for eye products, the middle drawer for lip products (and the overflow from the eye drawer) and the bottom drawer is for face products. I’m planning on getting some more drawers soon so I can organise everything further.
What do you think?
Naomi x


