Archive for July, 2012
Olympic Nail Art for Team GB!
14As I’m sure you will all know, the London 2012 Olympics opened on Friday with a breathtaking opening ceremony. I was glued to the screen for the whole ceremony and I think the volunteers did an amazing job with their performances – they should all be very proud of themselves! It was great to see Danny Boyle pay homage to the National Health Service, and all of the brilliant music created in Britain. The highlight for me was definitely Mike Oldfield’s performance of ‘Far Above the Clouds’ from Tubular Bells III, one of my all time favourite pieces of music.
The games are now well underway and, of course, I am supporting Team GB all the way! To show my support for Great Britain, last night I created some Olympic inspired nail art. I painted each nail a different colour, the colours of the Olympic rings – Blue, yellow, black, green and red. Then, using nail dotting tools, I painted the Union Flag onto the blue nail, and gold Olympic rings on the black nail.
I know they’re not the neatest (it’s difficult painting straight lines with round tools!), but I’ll be wearing my Team GB nails with pride! The colours I used for this design are:
- Leichner Nail Gloss in ‘Blueberry’
- Barry M Nail Paint in ‘Yellow’
- Primark Nail Polish in ‘Black’
- MUA Nail Varnish in ‘Shade 13′
- Avon Nailwear Pro in ‘Real Red’
- Laval Crystal Finish Nail Polish in ‘White’
- Gallery Colours Nail Varnish in ‘Gold Mine 434′
- Sally Hansen Continuous Treatment Base & Top Coat
Which Olympic team are you supporting?
Naomi x
I’m Back, but am I Burnt? Hawaiian Tropic Silk Hydration
2Hello everyone!
After four days of camping near the beautiful moors of Dartmoor I am finally back in the shire. I had a great time on my little trip with my dad and sister – I’ve been camping every year since I was born and I really love being close to nature and away from all the stresses of the city. We spent a good portion of the holiday hiking on the moors. We found a couple of stone circles and saw lots of wild horses, and of course some stunning views…
We also spent a day in the beautiful little Cornish town of Boscastle, browsing the shops and sitting on the cliffs overlooking the sea (which was very, very blue). And, as you do, we ate a lot of decadent meals – not good for the diet but great for the soul 
Whilst I was camping it was really hot and sunny – quite unexpected after two months of rain! I’ll admit, I hadn’t really thought about buying sun lotion this year because of all the rubbish weather, but I recently received a free sample bottle of Hawaiian Tropic Silk Hydration lotion in the post. So, before I set off, I chucked it in my suitcase to use if it was sunny… and as I said, it was.
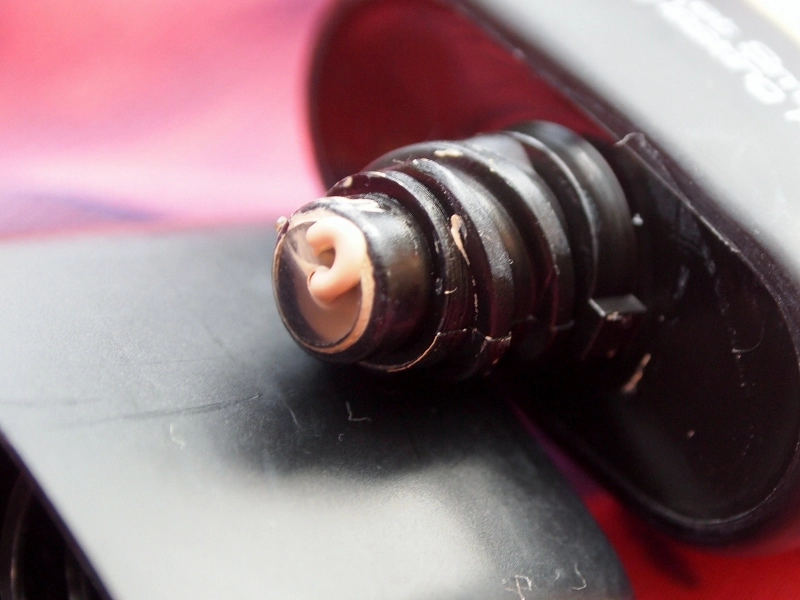
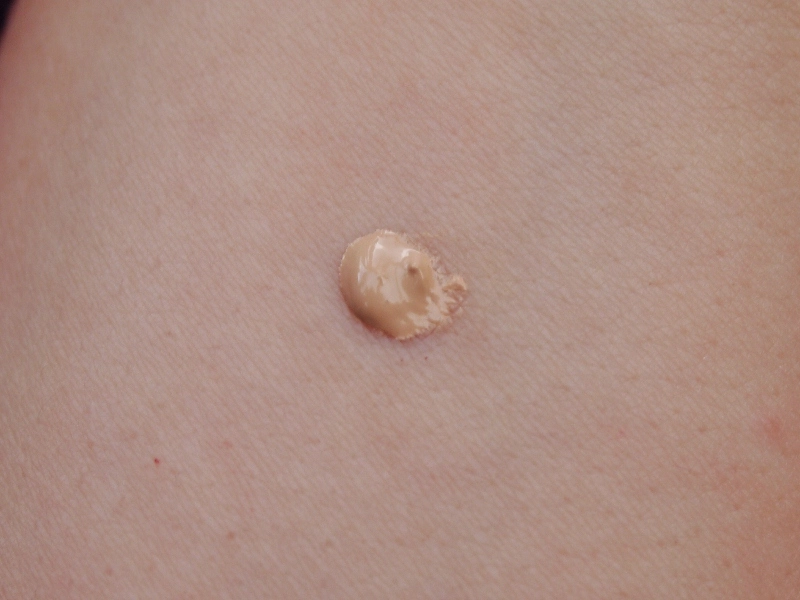
On first impressions I love the look of this lotion. The flower design on the bottle is pretty and the lotion itself looks different to the boring white stuff you usually see on shelves. If you look closely, you can see that the lotion in the bottle is white, swirled with orange. These orange swirls are the ‘hydrating ribbons’ that the packaging boasts, which are supposed to provide twelve-hour moisturisation. When you squeeze the bottle the lotion comes out easily and the colours mix into a paler orange shade, as you can see below.
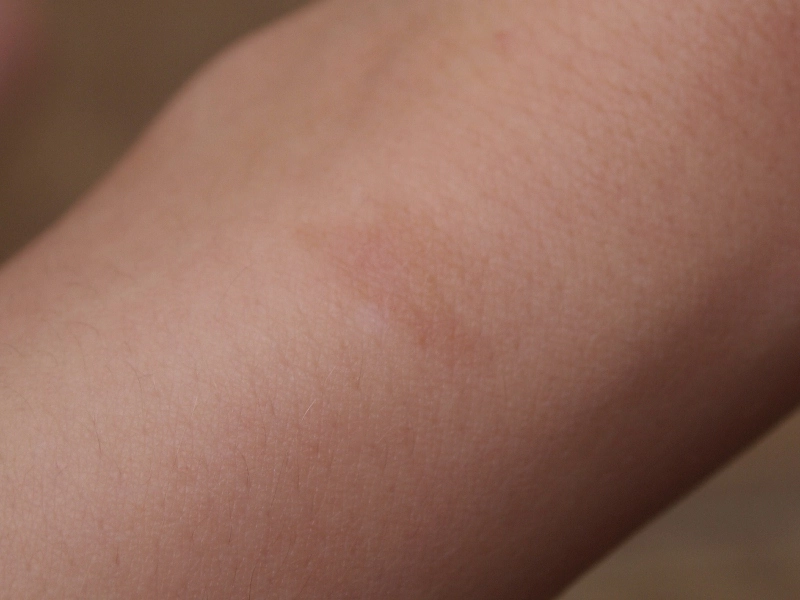
So… does this lotion protect AND moisturise? In a word, yes! The lotion is a wonderful consistency – not too runny and not too thick, so it rubs in with ease. I noticed that it was absorbed very quickly so it didn’t leave any streaky white marks and didn’t rub off on my clothing. The lotion has an SPF of 15, so I applied this several times a day to ensure that I was protected at all times. I usually use SPF 25 or 30, so this did need more regular application, but it’s so lovely to apply it didn’t matter too much. As you would expect, I didn’t burn whilst using this, not one little bit. I did get a slight tan on my arms and chest though, but I’m not complaining. But now for the real test, the hydration factor! I didn’t use any other moisturiser whilst I was camping, which for me is unusual as I suffer from fairly dry skin. However, the Silk Hydration did just the job  My skin felt so soft all day and night, even after a shower, and I didn’t suffer with any dryness. I really wish you could buy the moisturising aspect of this on its own to use all year round because it really is impressive.
The absolute best thing about this lotion though is its scent. It smells so light and fresh… Slightly fruity but also floral, with a strong creamy overtone of sweet coconut. The scent lingered on my skin all day, and I couldn’t stop sniffing my arm! Haha.
I would highly recommend this lotion to anybody, especially if you suffer from dry skin and want something hydrating as well as protecting. I’ve seen it around in lots of shops, including ASDA and Boots so it’s very easy to find, and it has an RRP of £14.99 for 180ml, meaning this 59ml sample bottle is worth about £4.99. It may be slightly more pricey than other high street sun lotions, but I think the quality of the product reflects the price. I for one would definitely invest in a bigger bottle.
Have you tried Hawaiian Tropic’s Silk Hydration sun lotion?
Naomi x
*I won this product in a 10,000 bottle giveaway and this is an honest review. I am in no way affiliated with Hawaiian Tropic or any other companies mentioned*
Inside My Camping Make Up Bag
6Tomorrow morning I am heading off on a camping trip until Sunday. This obviously means that I probably won’t be posting anything on Bewitchery for a few days, but worry not! I have plenty of things to share with you once I get back. In the meantime, I thought I would show you all what I will be taking with me in my make up bag. I usually carry quite a big make up bag, but when I’m camping I only ever wear basic make up so I have downsized somewhat for this trip, as you can see below. Foundation, a bit of blusher, eyeliner and mascara and a slick of gloss are all you need to take the rough out of roughing it!
The only tools I will be taking with me are a small make up brush (for face powder and blusher) and a pocket mirror. And the make up?
Face – MUA Matte Foundation in ‘Soft Sand’, MUA Pressed Powder in ‘Shade 1′, MUA Blusher in ‘Shade 2′ and Avon Colortrend Perfect and Hide Concealer in ‘Light’.
Eyes – Avon Glimmerstick Eye Liner in ‘Blackest Black’ and Avon SuperCurlacious Mascara in ‘Black’.
Lips – Avon Glazewear Lip Gloss in ‘Violetta Sparkle’ and Balance Me Rose Otto Intensive Lip Salve.
Have a great weekend everyone – see you when I get back!
Naomi xx
Batman Day: Selina Kyle/Catwoman Inspired Make Up
1I have officially named today Batman Day, because today (finally) I went to see The Dark Knight Rises at the cinema! I have been Batman obsessed since I was a small child and have seen pretty much every Batman film that has ever been made. The Christopher Nolan trilogy has been by far my favourite set of films, and the big finale didn’t disappoint. I’m saying nothing though, just in case any of you are yet to see it  In a move of unashamed geekery, I decided to give my make-up a Batman theme today, and what could be more fitting than a Selina Kyle based look? The brilliant Anne Hathaway plays Selina/Catwoman in The Dark Knight Rises, and her distinctive look has been adorning posters for months, and I had been wanting to recreate her pale face and pink cheeks, bold red lips and dark smokey eyes for a while, so today I did.
Here is the make up that I used for this classic look:
- Avon Ideal Shade Cream to Powder Foundation in ‘Ivory’
- Avon Ideal Shade Pressed Powder in ‘Fair’
- Avon Colortrend Perfect and Hide Concealer in ‘Light’
- The Body Shop Lip & Cheek Stain
- Avon Glimmerstick Eye Liner in ‘Blackest Black’
- Jillian Dempsey for Avon Professional Kohl in ‘Charcoal’
- Avon SuperCurlacious Mascara in ‘Black’
- MUA Lip Boom (just the lipstick) in ‘Bring It’
And here is my Catwoman-inspired look!
This look is very easy to create… Over moisturiser I applied the Cream to Powder Foundation, Concealer, and a very fine layer of Pressed Powder. I then lined my waterline with the Glimmerstick Eye Liner and smudged the Avon Professional Kohl under my eyes and over my top lashline, before drawing one more line on my top lashline with the Kohl. Next I added two coats of SuperCurlacious Mascara, and finally I filled in my lips with MUA’s Lip Boom. Easy!
I hope you like my Catwoman look, and if you’re going to see the film, enjoy it! For those who have already seen it… What did you think? I really loved seeing Nottingham’s Wollaton Hall in the film as it’s so close to where I live!
Naomi x
NOTD: Illamasqua Nail Varnish in ‘Snap’
17After receiving my Illamasqua order earlier this week, I decided to paint my nails with my new Illamasqua Nail Varnish this weekend. The shade I ordered is ‘Snap’, which is currently in the online sale for £5, down from £13.50.
‘Snap’ is a very thick nail varnish. One coat is enough for it to be completely opaque, but I applied two as the packaging suggested to give it more ‘intensity’. I would’ve been happy with one though. At first, the thick consistency of this proved to be quite troublesome as it was difficult to get an even coat and it seemed quite gloopy, but once I got used to the formula I found it a lot easier to apply. For a thick varnish it dries quite quickly too – after a few minutes it was good to go, but yet again I made the mistake of painting my nails before bed so the sheets left slight imprints on the tacky top coat (which you may be able to see below).
My favourite thing about ‘Snap’ is the colour. Illamasqua describe it as a rich pewter with a shimmer finish, and they are exactly right. It is neither matte nor shiny, so it actually looks like metal, and the pewter shade is very luxurious and highly pigmented.
The nail varnish is proving to be hardy too. I haven’t been wearing it for many days so I can’t comment fully on its lasting power, but I spent a good few hours hiking today which meant scrambling over rocks and grabbing onto tree branches, and it hasn’t chipped or peeled at all! A very good sign if you ask me because my manis don’t often survive my nature walks.
Overall, I am fairly impressed with this nail varnish. It could do with being a bit thinner maybe, but I have been told that one or two Illamasqua nail varnishes are a bit on the thick side, but the rest are perfect. I’ll just have to try a non-metallic colour won’t I? Not that I’m complaining  Illamasqua’s range of shades is amazing, and this one doesn’t disappoint. At £5 this was a bargain as you get a large 15ml bottle, and I’d be happy to pay £13.50 for the right shade.
Naomi x
Unboxing my First Illamasqua Order
11Illamasqua are a brand that have intrigued me for a long time. They’re British and known for being cruelty-free, and being a British vegetarian myself I am all for local, ethical businesses. Their website states that they are dedicated to ‘self-expression through make up art’ whilst ‘challenging the conventions of the make-up industry’. I have never been one for sticking to conventions, so I was really drawn to their wide range of unusual colours and cosmetics when I discovered them many moons ago. The brand have been around since 2008, but despite my long term obsession with their make up, I received my first ever Illamasqua order today. I know I’m a bit late to the Illamasqua party, but better late than never! I don’t usually do unboxing posts as they can be a bit boring and I did only order two items from the sale that I’d been eyeing up for a while, but I thought I’d give you a sneak peek of what I’ll be reviewing in the coming days/weeks 
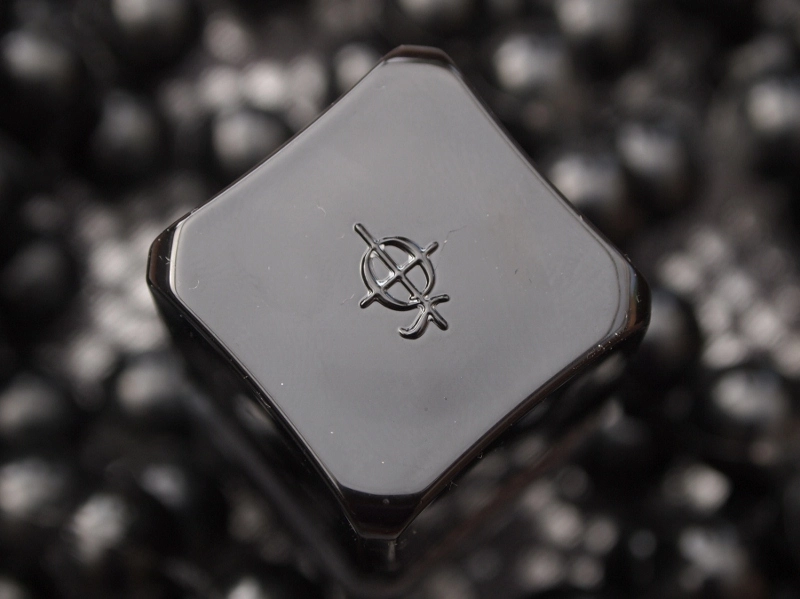
From what I’ve seen on other blogs, all Illamasqua orders come packaged in a black cardboard box like this:
Not terribly exciting to look at, but that ‘beauty box’ element makes it feel a little bit more luxurious than receiving your items in a plain ol’ jiffy bag.
Upon opening the box, I was greeted with my receipt and a flyer about their Skin Base Foundation.
Underneath the flyer were two little freebie items. When I placed my order I was given the opportunity to add one, both or neither of the freebies to my order, so obviously I went for both of them! I was sent a 1.5ml sample of Illamasqua’s new fragrance ‘Freak’, and a booklet of their Human Fundamentalism collection which I’m really looking forward to browsing. It has some great pictures inside of different and unusual make up looks which I’m sure I can draw some inspiration from!
I tried the perfume out earlier and though it isn’t as sweet as the perfume I would normally choose, I have really taken to it. It’s also lasted a long time on my skin and smells as strong as it did when I first put it on a few hours ago.
And now, onto what I actually bought… Sheer Lipgloss in ‘Tantrum’ for £7.50 (RRP £13.00) and Nail Varnish in ‘Snap’ for £5 (RRP £13.50). I must point out that I absolutely love Illamasqua’s classy black packaging!
I’ve already swatched both products and they seem promising! ‘Tantrum’ is a gorgeous pinky purple shade, described as a ‘deep berry pink’ on their website, and ‘Snap’ is ‘rich pewter’ with a ‘shimmer finish’. But that’s all I’ll say for now! Keep an eye out for my review posts of everything, including the ‘Freak’ sample, which I’ll be doing soon 
Have you tried any Illamasqua make up?
Naomi x
Avon Brochure 14 featuring NEW SuperDrama Mascara
0Attention Avon fans! I am currently running Brochure 14, and my Personal Online Brochure is now online if you fancy a browse  The brochure can be found here, and you can also see the sale flyer if you want to pick up some bargains.
Brochure 14 sees the release of Avon’s latest mascara – SuperDrama. The mascara lengthens and volumises, and instantly lifts your lashes to ‘give eyes a more open look’. It comes in two shades (Black and Brown/Black) and is debuting for just £7 (£3 off!) You can find it on page 5 of the main brochure. Also, if you order two or more make up items across pages 5-15, you will receive a FREE Beauty Bonus! The Beauty Bonus includes a cosmetics bag, Ultra Colour Rich Lipstick in ‘Frozen Rose’, Nailwear Pro+ in ‘Plum Seduction’ and a Trial Size ANEW Genics Treatment Concentrate, worth a total of £20! Order your freebie using code 69898.
Brochure 14 also features the NEW Lipsy Leopard Weekender Bag. The bag is large (32x45x18.5cm) and made from pretty leopard print fabric, with pink trim and logo. The design is exclusive to Avon and will normally be £25, but it is on offer for just £15, AND if you order the bag, you can get a matching purse for £5! Visit pages 22-23 to see the bag.
There are loads of cheap lipsticks and glosses on pages 16-17 of the sale flyer too, including one of my personal favourites – Ultra Colour Rich Colordisiac in ‘Drawn To You’ (a bright, bold pink) for just £3.50!
You can place your orders with me directly using my online brochure by adding your items to the cart and then submitting the order. Payment must be made by PayPal or Bank Transfer, and postage will be charged at standard Royal Mail prices (£2.20 for small orders, £5.30 for big orders, more if you order a lot of heavy things!) Please note that it is illegal to send aerosols through the post so please do not order any body sprays as they will not be sent  Once you’ve placed your order, please email so I can send you details on how to pay. Orders must be placed by 10pm on Wednesday 25th July, and your order will be posted on Tuesday 31st July. Thanks!
Happy browsing.
Naomi x
PS. Don’t forget to keep an eye out for other offers and freebies throughout the brochure, as there are a lot of them!
DIY Simple Cord Bead Bracelets
5I was recently browsing the summer sales and noticed that there were a lot of fine cord beaded bracelets around. I thought they were very cute and subtle, but I couldn’t justify spending money on what was essentially just a piece of string and a single bead. So, being the thrifty girl that I am, I decided to make my own! Under my bed I have a big box of craft stuff, so today I dug out some cord and a few beads and got making. As I went along, I took some photos so I could put together this little tutorial for you all  Each one only takes a few minutes to make so you really don’t need to set aside much time to try this out.
All you will need to make your simple cord bead bracelet is:
Leather Cord
Scissors
A Pretty Bead
And this is how you do it!
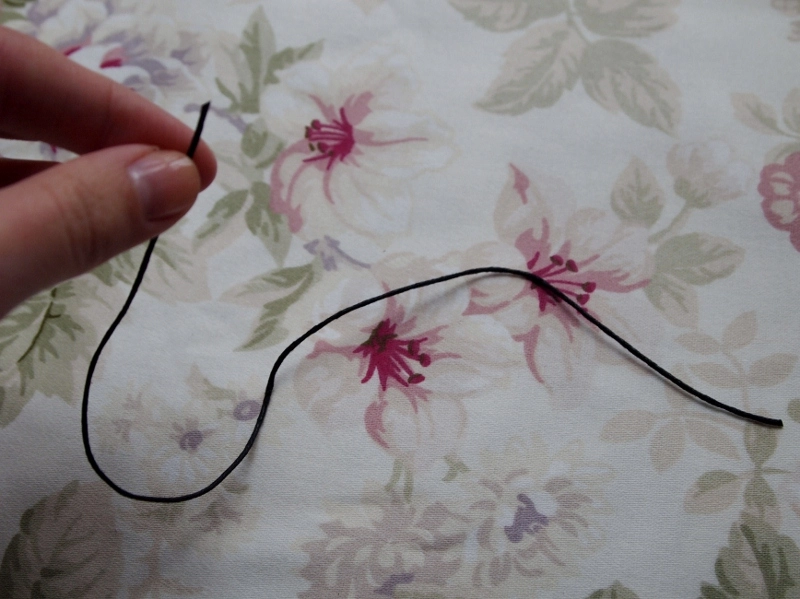
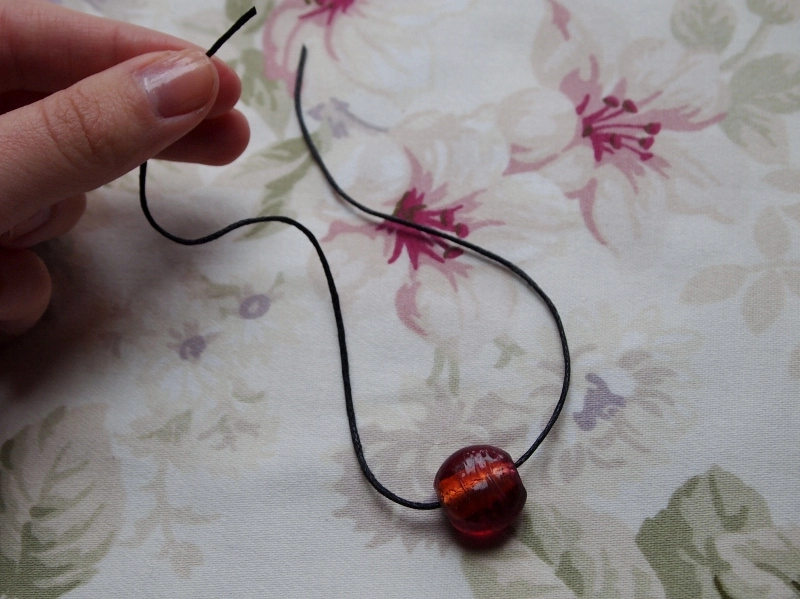
1. Cut a length of cord which is a few inches longer than the circumference of your wrist. It needs to be quite long so you can tie knots later on! Any excess can be snipped off if needs be, so try not to make it too short.
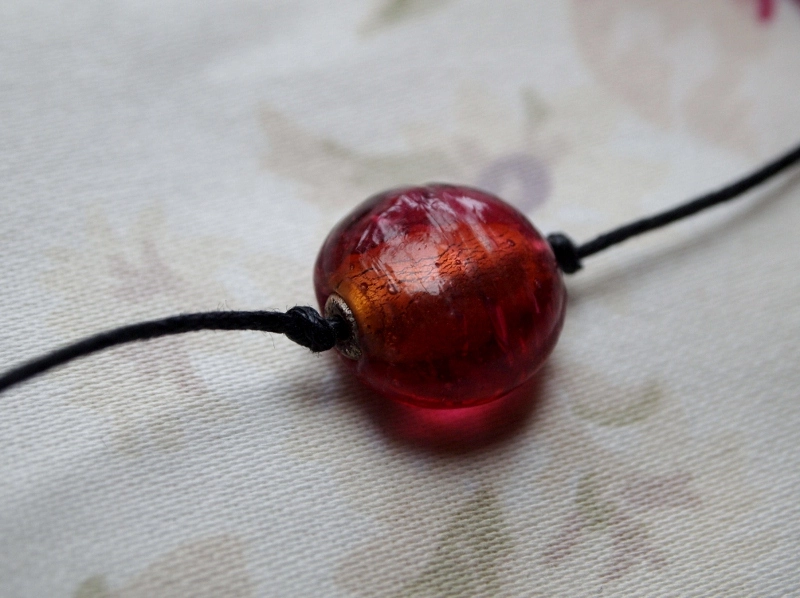
2. Thread your bead onto the cord, making sure that it’s in the centre.
3. Tie a tight knot either side of the bead to keep it in place.
4. This is probably the most fiddly bit… Tie one side of the cord around the other side of the cord to create a sliding knot. It’s difficult to explain how to tie a sliding knot so if you don’t know how to do it, there’s a simple guide here.
5. Do the same on the other side. The sliding knots will make it easy to make the bracelet tighter or looser.
And that’s it – once you’ve trimmed it down you’re finished! I made several bracelets using different glass coloured beads so I can wear them stacked together. And here they are…
What do you think? I hope you like them! I’d love to see a photo if you decide to try this out.
Happy crafting 
Naomi x


