Posts tagged Yellow
What I Wore: Denim and Wolves
4Today’s outfit is a lot more urban-inspired than I usually wear, and features a stylish statement piece from Jennifer Hope Clothing. Jennifer Hope Wheeler, a streetwear designer, started her range after leaving university and now sells her unisex clothing in Topshop’s flagship store in London, as well as in Topshop Bristol Cabot Circus, surf/skate/street store Two Seasons, and a couple of independent shops.
Jennifer Hope Denim Wolf Waistcoat / Jennifer Hope Hope Hat / Primark Long Sleeve Top / New Look Black Skinny Jeans / Dr Martens 1460 W Purple Shimmer Boots / Primark, Gifted Stackable Bracelets / Rings & Tings Long Bar Necklace
For the past few months I’ve been looking for a waistcoat to wear over simple tops, but finding one was proving difficult, so when I was sent this denim wolf waistcoat by Jennifer Hope I couldn’t wait to style it. I also received a Hope beanie hat, which is obviously perfect for this time of year. My partner and I spent this afternoon browsing the local shopping streets and going for an Autumn wander around the park, so something casual and warm seemed suitable, and the waistcoat and hat are definitely that.
The waistcoat is made from thick, high quality denim, and is scattered with a few rips and tears for a more edgy look. The back is what really makes a statement though, as it features an on-trend wolf print which is stitched onto the full length of the waistcoat. I love having unique pieces like this in my wardrobe as they add quirky detail to plain outfits, and look effortlessly good.
I teamed the waistcoat with a basic black long sleeve top from Primark, a pair of black skinny jeans from New Look, my favourite pair of Dr Martens and the Jennifer Hope beanie hat. I also added a simple necklace and a stack of bracelets for some extra detail.
To browse Jennifer Hope’s full range of clothing, you can visit her online shop here.
What do you think of this look?
Naomi x
*I was sent this Denim Wolf Waistcoat and Hope Beanie Hat by Jennifer Hope Clothing for styling purposes. All opinions expressed are honest and my own.*
Ciate Mini Mani Month Round-Up: Part 3
6Hi everyone,
First off, I would like to wish my sister, Freya, a very Happy Birthday! Today she turns 21, an important age, but she’ll still always be my baby sister, wanting all my things. HAPPY BIRTHDAY FREYA!!

Now, down to business… Today I opened the door of Day 18 on my Ciate Mini Mani Month advent calendar, which means it’s time for another weekly round-up! This post will feature Day 13 up to Day 18, and I have swatches of all but one of the Paint Pots this time. I must admit, my feelings were mixed this week. There were a couple that I really liked, and one or two that I wasn’t keen on at all, but you can’t win them all as they say!
Day 13 – Glass Slipper and Day 14 – Speed Dial

On Day 13 I opened the door to Glass Slipper, a lovely blue glitter polish, and the first of the calendar’s three exclusive shades. The glitter is very fine and beautiful, and doesn’t feel too rough in texture, but it isn’t really dense enough to wear on its own (unless you’re willing to apply 3+ coats). It works perfectly as a top coat however, and is surprisingly easy to remove for a glitter.
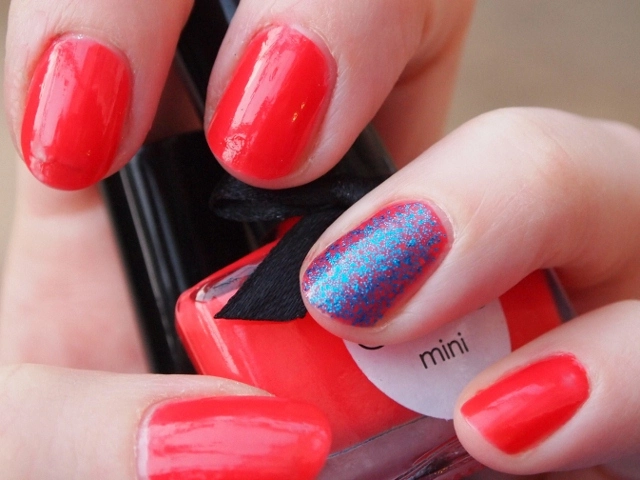
Speed Dial is an unusual shade – it looks bright orange in the bottle, but I found it applies somewhere between a red and an orange. It is more orange in real life than it looks in the photo above though. I just can’t quite decide whether I like it or not! It definitely doesn’t look that good with Glass Slipper over the top, but with the right outfit I can see it working. Not one of my favourites, but not bad. It applied evenly and has a creamy formula at least!
Day 15 – Headliner

Headliner is my absolute favourite this week… I seem to have a thing for blues at the minute! It is a dark turquoise blue shade with a stunning creme finish and I love it! As you’d expect, the formula is great and, quite impressively, it only takes one coat to achieve a completely opaque finish (the photo above show two coats, however). Headliner got me a lot of compliments when I wore it, and without a doubt I’ll be wearing this one a lot!
Day 16 – Big Yellow Taxi

Ick, I’m not liking Big Yellow Taxi. I initially thought this looked okay as it appeared quite a creamy banana yellow in the bottle, but when I applied it I was soon disappointed. It has a really strange gloopy formula, so it went on very streaky, and no number of coats seemed to be able to even the finish out. The yellow shade is slightly too bright, and in all honestly it looks like tippex coloured in with yellow highlighter pen – not pretty! On the plus side, it doesn’t leave any stains behind at all. I don’t think I have the skin tone to pull this off, but it would probably look great against darker skin… I may use it for Batman nail art though!
Day 17 – Power Dressing

I haven’t tried Power Dressing yet so I can’t comment much on the formula and colour, but in the bottle it looks like a classic deep navy blue, and I imagine it will have a lovely shiny finish. I’m looking forward to using this!
Day 18 – Candy Shop Caviar Pearls

Candy Shop is the third out of four bottles of Caviar Pearls in the calendar, and so far they are my favourite. The beads are very small and coloured in three shades – turquoise blue, pink and orange. As with the other pearls that I have tried, these are very easy to apply (just pour over a wet nail, press down, and leave to set for 15 minutes), and look really striking against a bright varnish. The purple shade I chose to pair the pearls with is actually Cabaret, one of the shades I didn’t swatch in Part 1, so now you can see what it looks like.
So there you go, a mixed bag of mostly brights this week. Which is your favourite? Please vote below! Check back for Part 4 next Monday, on Christmas Eve, and if you want to see the previous shades in the Ciate Mini Mani Month, they are swatched in my Part 1 and Part 2 posts.
Naomi x
Ciate Mini Mani Month Round-Up: Part 2
9Hi everyone,
Six days have already passed since my last Ciate Mini Mani Month post, can you believe it? The days are flying by and before we know it, it will soon be Christmas day! But for now, as promised, here is Part 2 of my Mini Mani Round-Up, featuring the surprises hidden behind advent calendar doors 7 to 12.

You may be pleased to know that I managed to swatch every single varnish this time, so you can get a more accurate feel for what each one is really like. As usual, they all have that deliciously creamy signature Ciate formula, which applies evenly, dries quickly and is extremely chip resistant. Here they all are in their bottles…

Day 7 – Cutie Pie

Cutie Pie is a pretty, feminine, powdery pale pink shade with a creme finish. I usually prefer bold, bright varnishes to pastels, but this one really is quite lovely and clean-looking. The above look was achieved using two coats of varnish and it’s still quite sheer, but I think three would be plenty enough for a more opaque appearance.
Day 8 – Vintage

Vintage is my favourite varnish from this week. It’s a deep grey colour, but it has a tinge of greeny blue to it which makes it more unusual than most greys. I got so many compliments about my nails on the day I wore this. I have a feeling I’ll be getting a lot of wear out of Vintage – it goes with anything!
Day 9 – Mistress

Mistress is a classic, very bright scarlet red, with a slight orange undertone and a high shine finish. I’m not the biggest fan of orange varnishes so I wasn’t too keen on this when I first saw it, but once I applied it I instantly changed my mind. I think shades like this can look a bit tacky sometimes, but because Ciate is such good quality, it actually looks really beautiful on. The only issue I have with this is that it stained my skin when I removed it! You can see evidence of the staining around my cuticles on the photo below…
Day 10 – Ladylike Luxe & Day 11 – Bumble Bee Caviar Pearls

Ladylike Luxe is a shimmery yellow gold shade, and it’s the best gold varnish I’ve ever tried. For some reason, gold and silver varnishes tend to show up any imperfections on your nails (no matter how small) and though this one isn’t perfect, it definitely disguises imperfections more than any other metal colour I’ve used. Overall this is a fab varnish – very Christmassy!
The Bumble Bee Caviar Pearls consist of two different coloured pearls – black and yellowy gold. I gave myself a ring finger mani with them yesterday, and as you can see it turned out rather well for a first attempt! The pearls were very easy to use… You just pour them over your wet nail, press them down and leave them to set for 15-20 minutes. I absolutely love how they look and feel, but they haven’t lasted very well. This morning when I woke up I noticed that the colour on the gold pearls had faded/rubbed off slightly, and after 24 hours a lot of the beads have already fallen off. I’m not sure how long they’re supposed to last, but I thought it’d be longer than a day!
Day 12 – Twilight

Last but not least, today’s varnish is Twilight – a black base with a gold fleck shimmer running through it, which also looks greeny brown depending on the light. I have a feeling this was intended to go with the Bumble Bee Caviar Pearls, and indeed it is a great match. A gorgeous, classy shade to round off the week.
Which one of this week’s minis is your favourite?
Don’t forget, you can read Part 1 of my Ciate Mini Mani Month Round-Up here. Check back next Tuesday for Part 3!
Naomi x
Monopoly Nail Art
19Today I thought I would share my latest attempt at nail art with you all, which is themed around squares on a Monopoly board! After doing my Pac-Man nail art last week, I wanted to try some more game themed designs. Monopoly is one of my favourite board games and I happened to have MUA’s Shade 5 to hand, which is very much like the colour of a Monopoly board, so it seemed only fitting for this to be my next design.
What do you think? I’m rather pleased with how they turned out, although it was VERY difficult drawing the ‘Free Parking’ car using my left hand! I’m very happy with the ‘Go’ nail though, and I think the coloured cuticles look good.
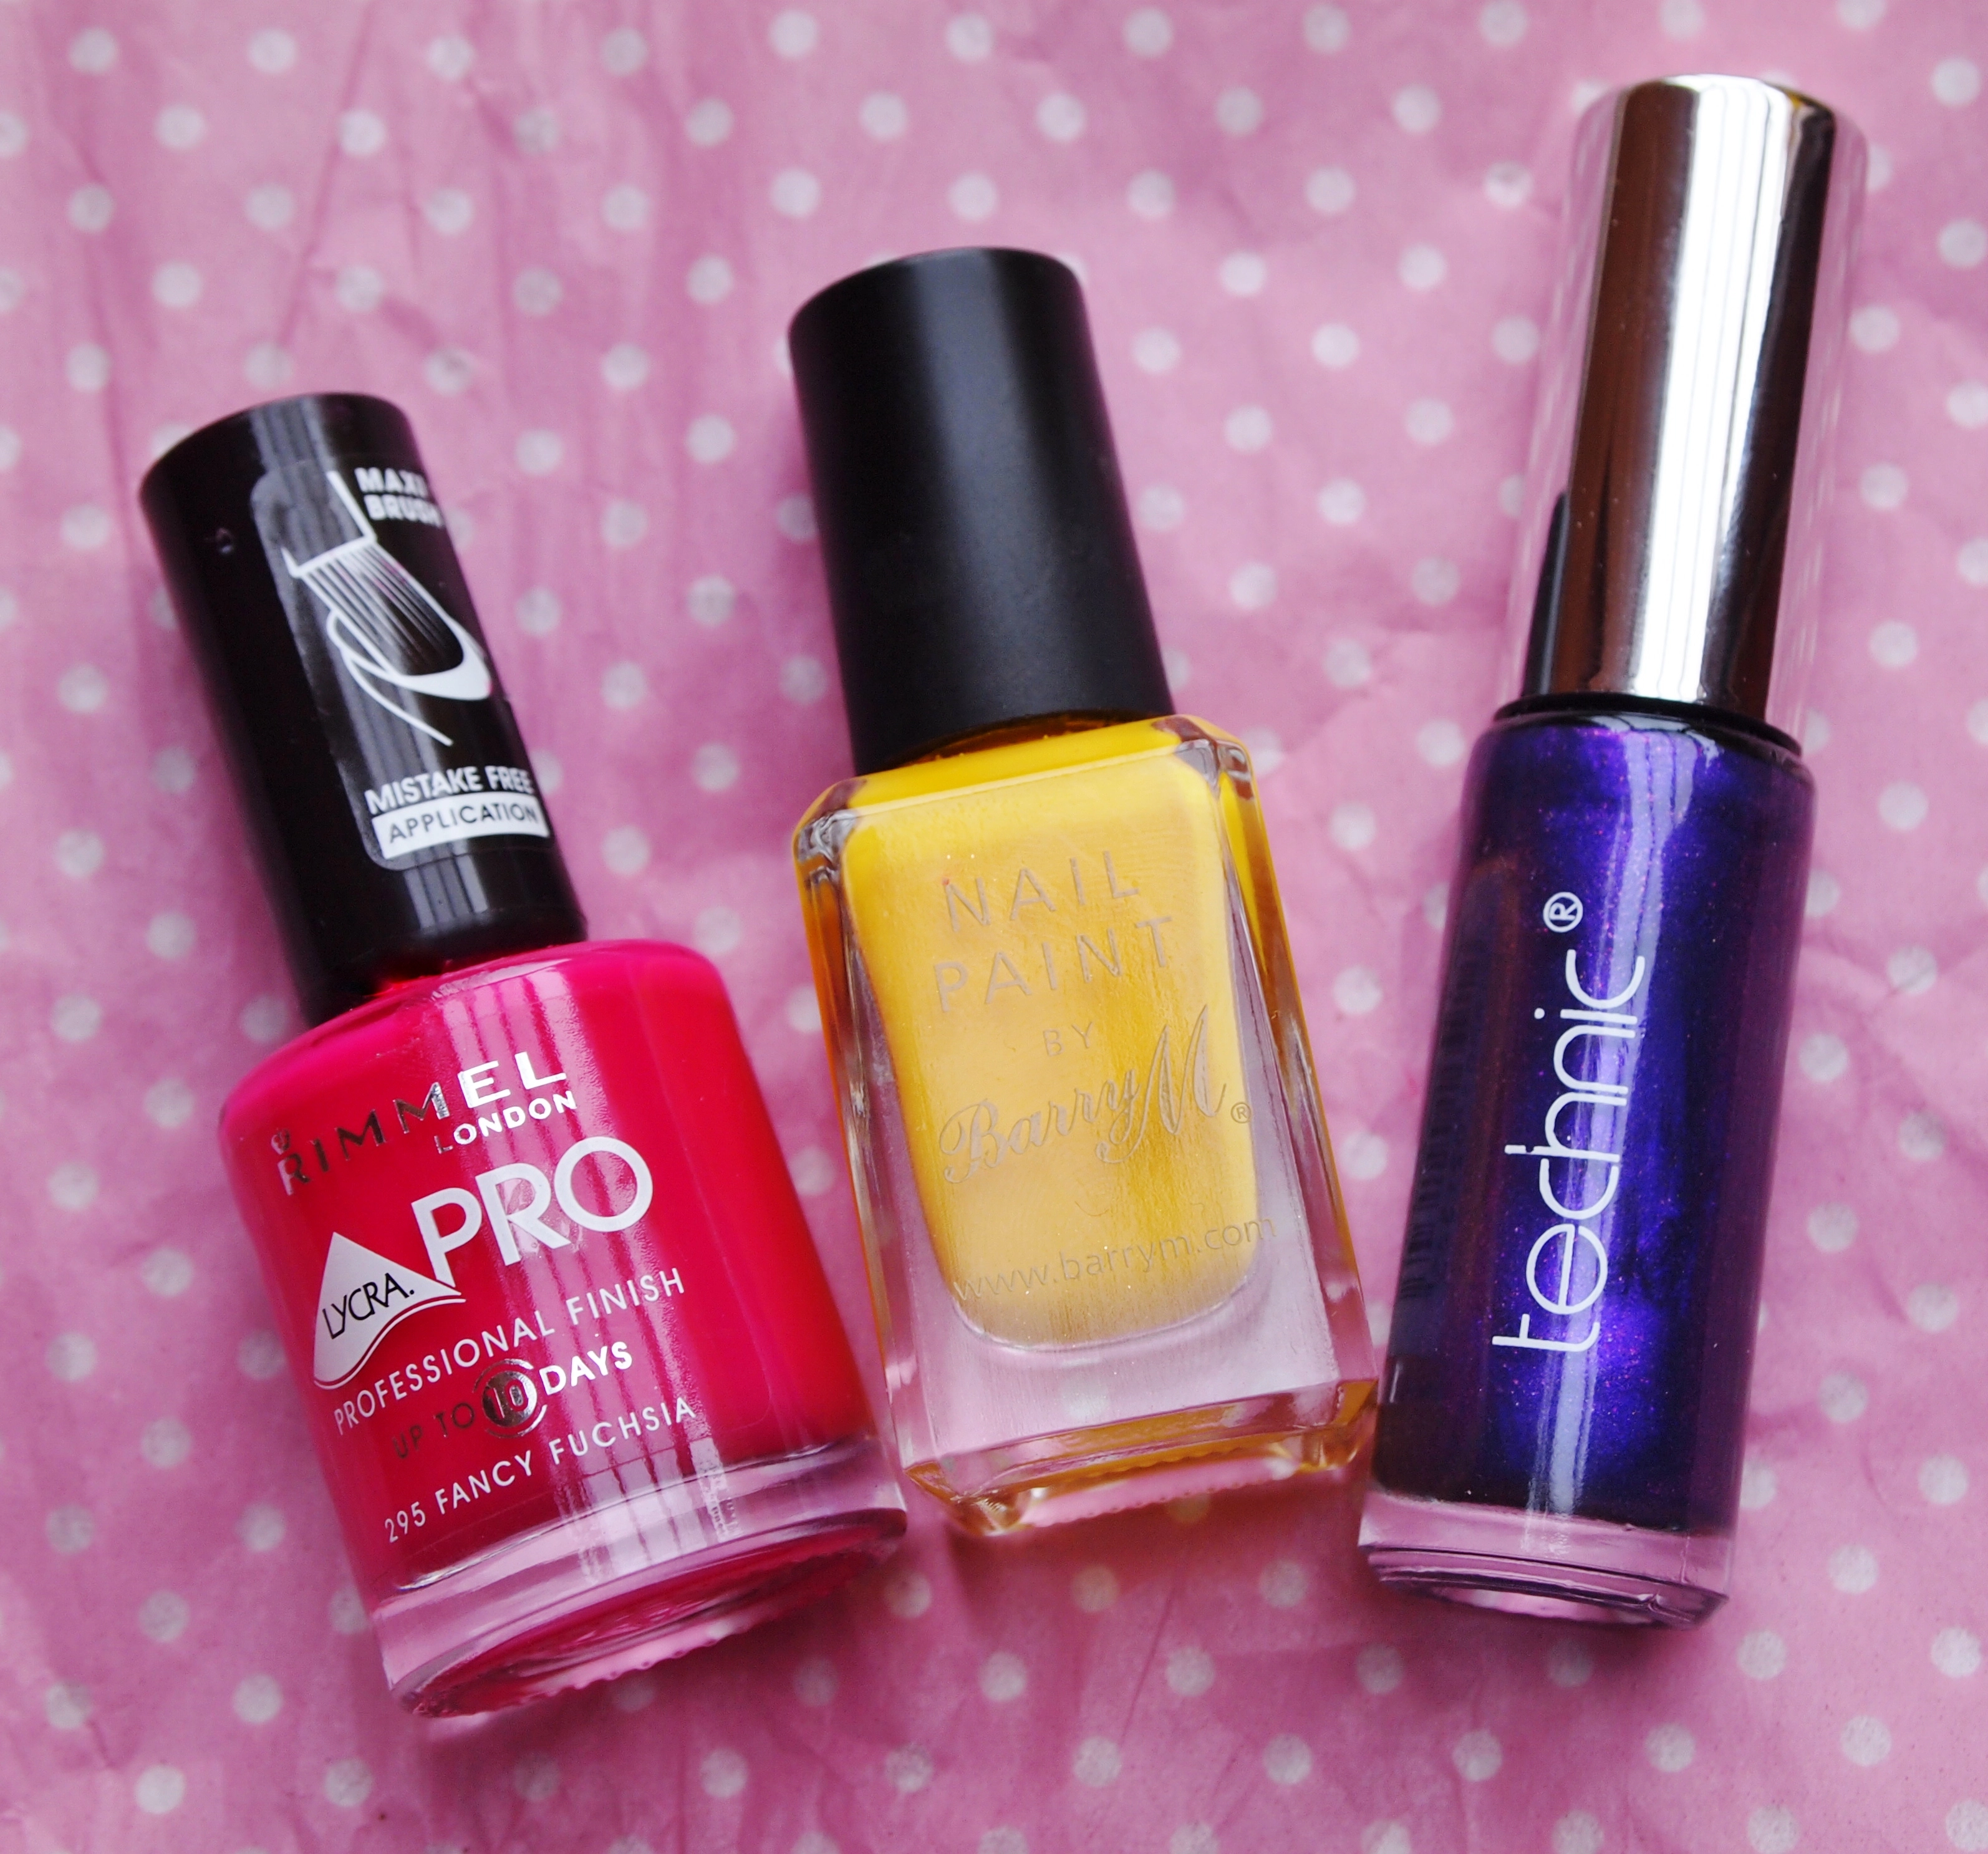
The colours I used for this design were: MUA Nail Varnish Shade 5, Avon Nailwear Pro ‘Real Red’, Avon Nailwear Pro ‘Coral Beat, Barry M Nail Paint ‘Yellow’, NYC Nail Polish ‘High Line Green’, Rimmel Pro Nail Polish ‘Fancy Fuchsia’, Primark Nail Polish ‘Black’, Primark Nail Polish ‘Blue’, Laval Nail Polish ‘White’, Technic Nail Art Pen ‘Black’ and Sally Hansen Base & Top Coat.
Naomi x
Pac-Man Nail Art
6After looking at some amazing computer game make up designs yesterday, I wanted to try my own game-inspired look. I didn’t want to do anything too complex (it was 9pm and I’d had a looong day), so I settled for nail art as I find it quite relaxing. I decided to do a basic Pac-Man design as the simple shapes are very easy to draw using nail dotting tools, and it only took five colours – black, white, red, blue and yellow. This was the finished result…
I painted Pac-Man on my index finger, Blinky the red ghost on my ring finger and the famous Pac-Man cherries on my thumb. I really enjoyed painting the cherries for some reason! I’m not completely happy with the overall look as, once again, my bed sheets left imprints on the design (someone please stop me painting my nails at night!), but I think they look cute enough. People keep telling me how much they like them anyway so I must be doing something right.
What other games would you like to see turned into nail art?
Naomi x
Olympic Nail Art for Team GB!
14As I’m sure you will all know, the London 2012 Olympics opened on Friday with a breathtaking opening ceremony. I was glued to the screen for the whole ceremony and I think the volunteers did an amazing job with their performances – they should all be very proud of themselves! It was great to see Danny Boyle pay homage to the National Health Service, and all of the brilliant music created in Britain. The highlight for me was definitely Mike Oldfield’s performance of ‘Far Above the Clouds’ from Tubular Bells III, one of my all time favourite pieces of music.
The games are now well underway and, of course, I am supporting Team GB all the way! To show my support for Great Britain, last night I created some Olympic inspired nail art. I painted each nail a different colour, the colours of the Olympic rings – Blue, yellow, black, green and red. Then, using nail dotting tools, I painted the Union Flag onto the blue nail, and gold Olympic rings on the black nail.
I know they’re not the neatest (it’s difficult painting straight lines with round tools!), but I’ll be wearing my Team GB nails with pride! The colours I used for this design are:
- Leichner Nail Gloss in ‘Blueberry’
- Barry M Nail Paint in ‘Yellow’
- Primark Nail Polish in ‘Black’
- MUA Nail Varnish in ‘Shade 13′
- Avon Nailwear Pro in ‘Real Red’
- Laval Crystal Finish Nail Polish in ‘White’
- Gallery Colours Nail Varnish in ‘Gold Mine 434′
- Sally Hansen Continuous Treatment Base & Top Coat
Which Olympic team are you supporting?
Naomi x
Nail Stains – Help Me!
5Hi everyone,
Once again I have been very busy lately. I have my final postgraduate assignment for this year due in on Wednesday so I have been working really hard on that over the last few weeks. On top of that, there have been birthdays and family emergencies galore this week, leaving very little time for anything else! So, this is just a quick plea for help from me today, and I hope one or some of you can help me!
Earlier this week I applied nail varnish without putting on a base coat. I’ve done this before and my nails were fine, but the nail varnish I used was given to me by somebody who had purchased it whilst on holiday abroad, so it may have had some funny stuff in. For the first time EVER I have very stained nails  They’re all yellow and the stains cover pretty much all of every nail – it looks horrible! I was just wondering whether any of you have any hints or tips on how to remove, or at least minimise, stains on nails? I have looked online and there all sorts of ideas out there, but I want to try something that works!
So, if you’ve got any tried and tested methods, please leave a comment below. Thanks so much in advance! I’ll see you all tomorrow with another Montagne Jeunesse review.
Naomi x


 Lush also have a lip tint called Double Choc. I haven’t actually tried this as brown shades don’t suit me, but it just smells wonderful! As for fashion, I am a huge fan of kitsch jewellery, especially necklaces. I got a Jammie Dodger necklace a while back from Diamond Lil’s and they have a lovely Bourbon Biscuit necklace which I’d also love to add to my jewellery collection.


